
Iron Cross tattoos draw from a rich history of bravery and resilience, making them a bold choice for anyone seeking a design that speaks to personal strength or heritage. If you’re looking at ways to express your edge through ink, these ideas blend tradition with creativity, offering something for every style and story.
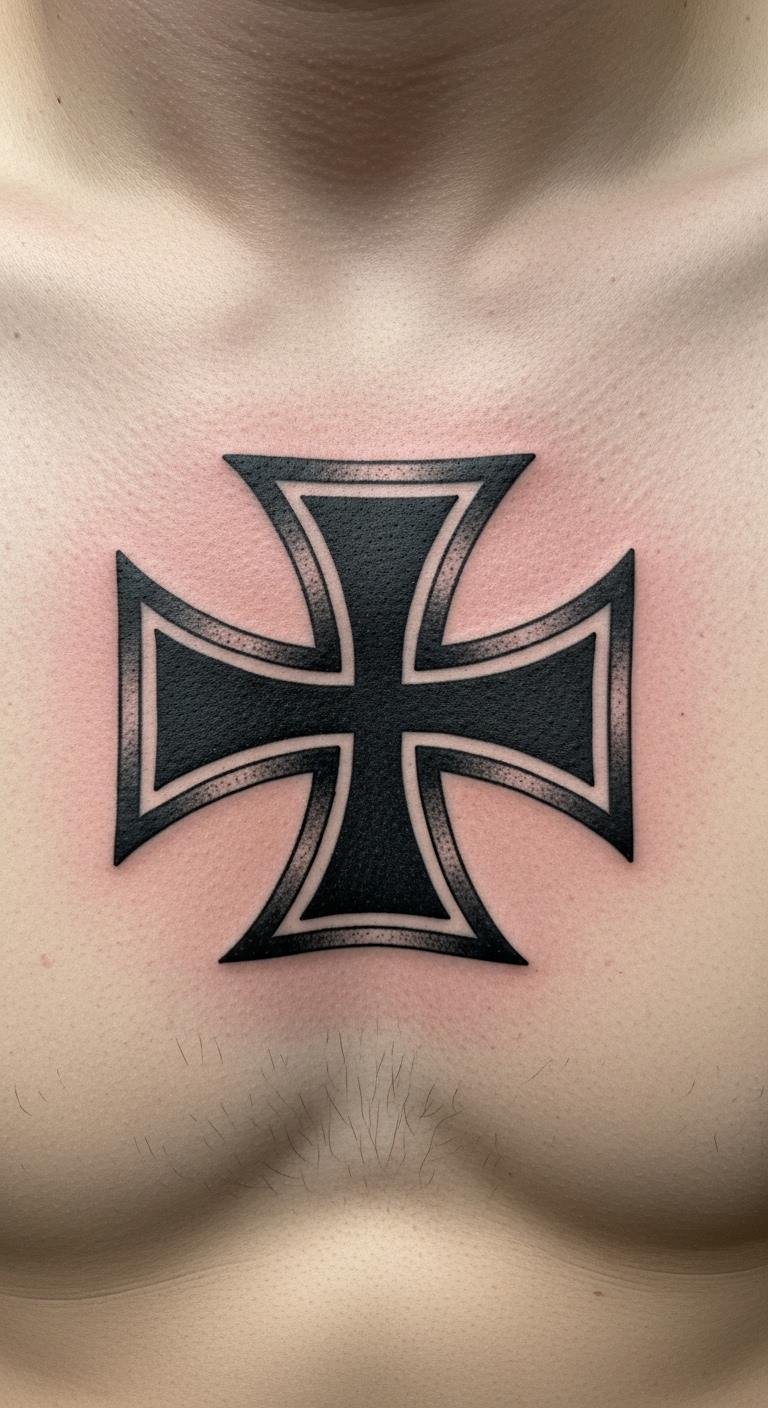
Classic Black Iron Cross Design
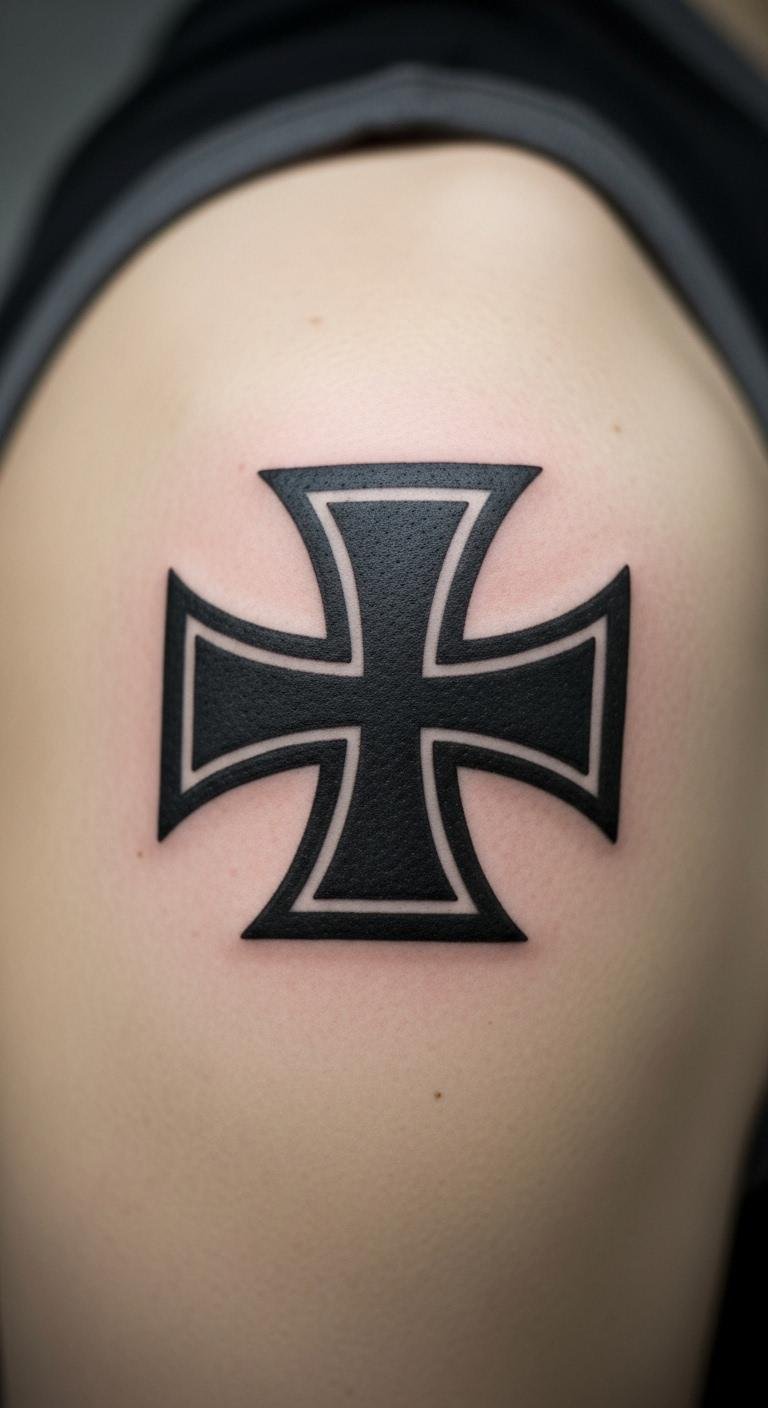
Think simple yet powerful. A classic black Iron Cross keeps things straightforward. Start with a basic outline on paper to sketch your idea. Use a fine-tip pen for accuracy. This design works great for first-timers. Pick a spot like your arm for easy viewing. Budget tip: Draw it yourself before hitting the shop to save on custom art fees. Add a small twist, like a faint shadow, using free online tattoo templates. Real DIY example: Trace the cross from a history book and adjust with erasable markers. Keep sessions short to manage pain. Focus on clean lines for lasting impact. This style fits anyone wanting to honor roots without extras. Go for a local artist who uses basic tools. You’ll walk away with something timeless.
Iron Cross with Eagle Motif
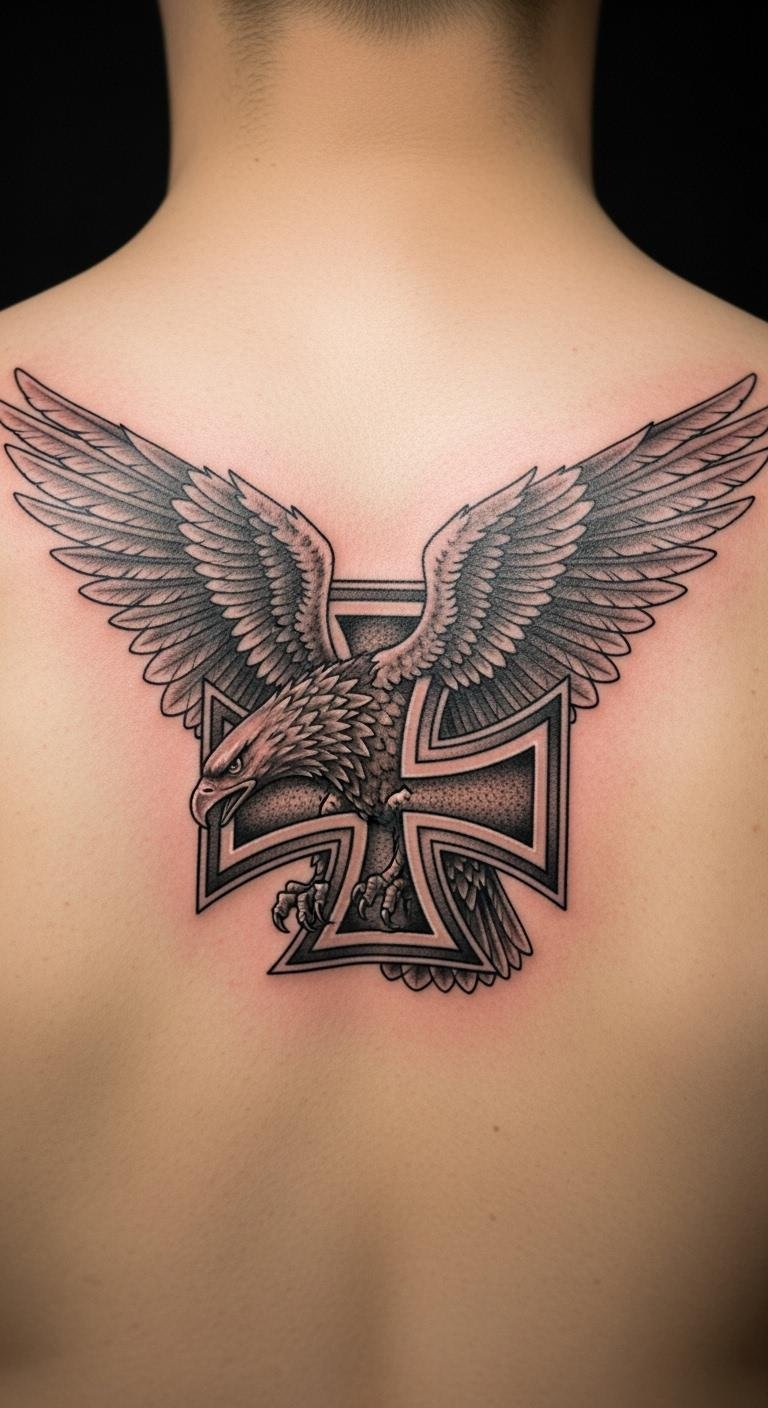
Pair the cross with an eagle for a nod to history. The eagle adds a layer of freedom and power. Draw a rough eagle shape next to the cross on sketch paper. Use bird images from free apps for inspiration. Place it on your back for a big statement. Budget tip: Combine elements from public domain sources to cut design costs. Real DIY example: Print an eagle outline, trace it, and merge with the cross using a home printer. Opt for black and grey ink to keep it affordable. Sessions might take two visits. This combo amps up the toughness vibe. Choose a spot that’s not too visible if you want subtlety. End up with a design that tells a story.
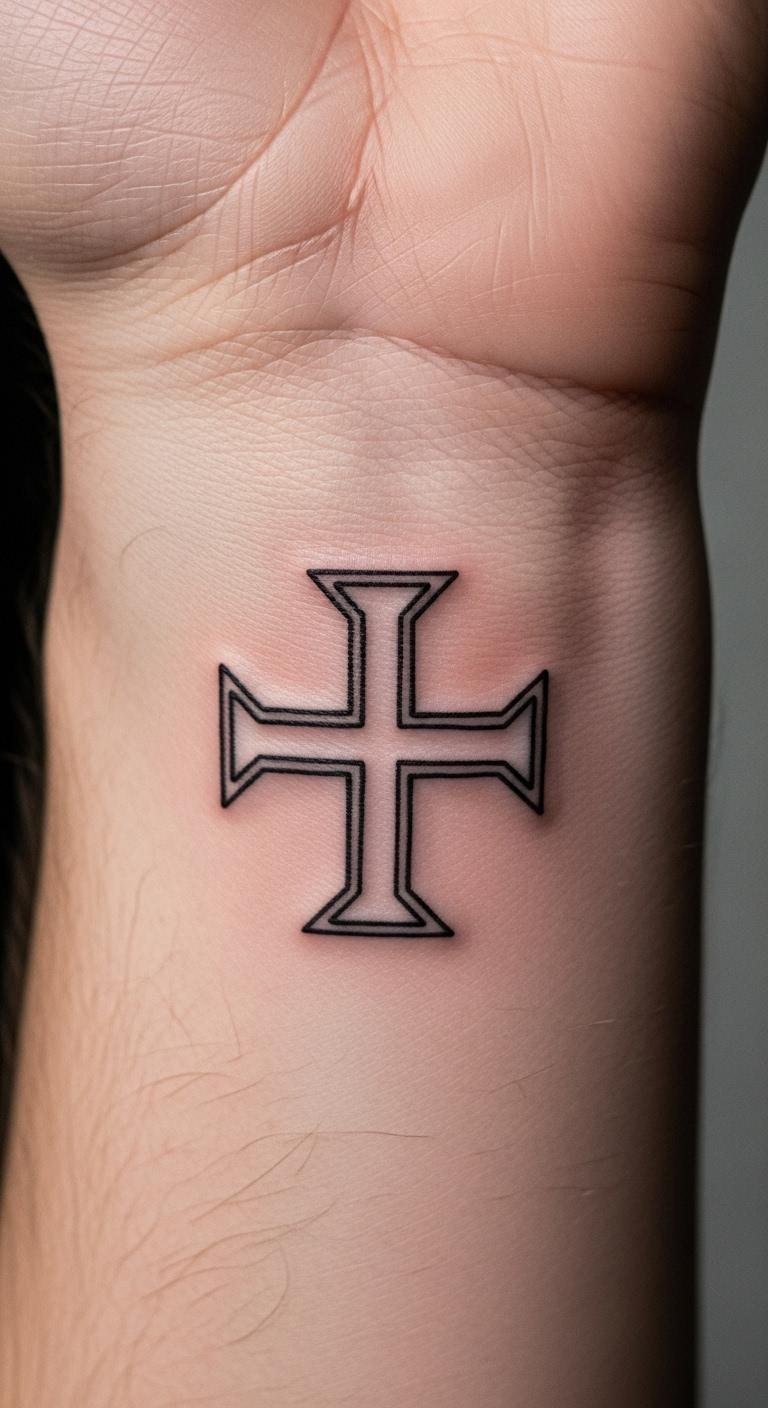
Minimalist Iron Cross Tattoo
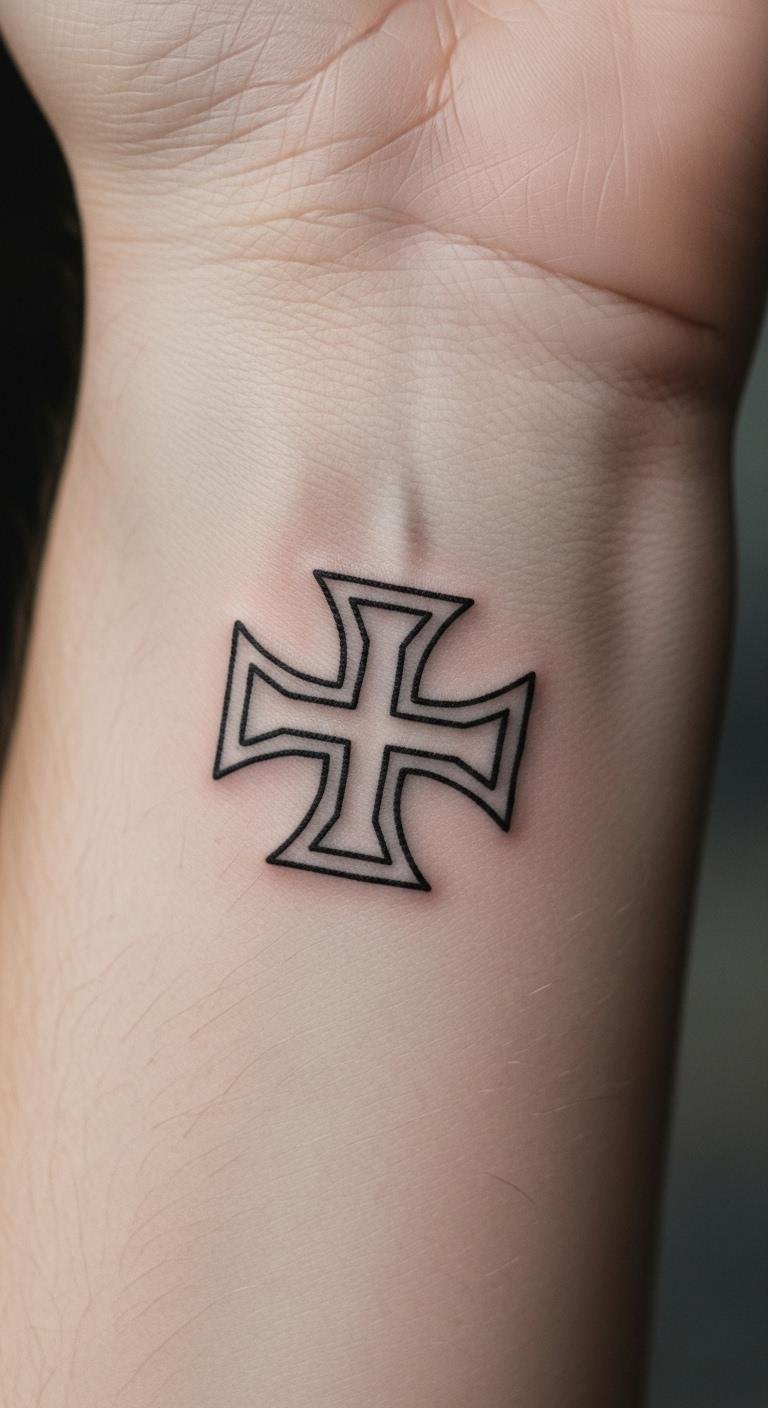
Go small and sleek for everyday wear. A minimalist cross uses just lines and space. Sketch it with a ruler on plain paper for precision. Keep details to a minimum. Put it on your wrist for quick flashes. Budget tip: Use free drawing tools online to plan and avoid extra charges. Real DIY example: Draw the cross freehand on your skin with washable ink first. This helps test placement. Stick to one color for simplicity. The process is quick, often under an hour. It’s perfect for subtle edge. Find an artist who specializes in line work. You’ll have a clean, personal mark.
Colored Iron Cross Variation
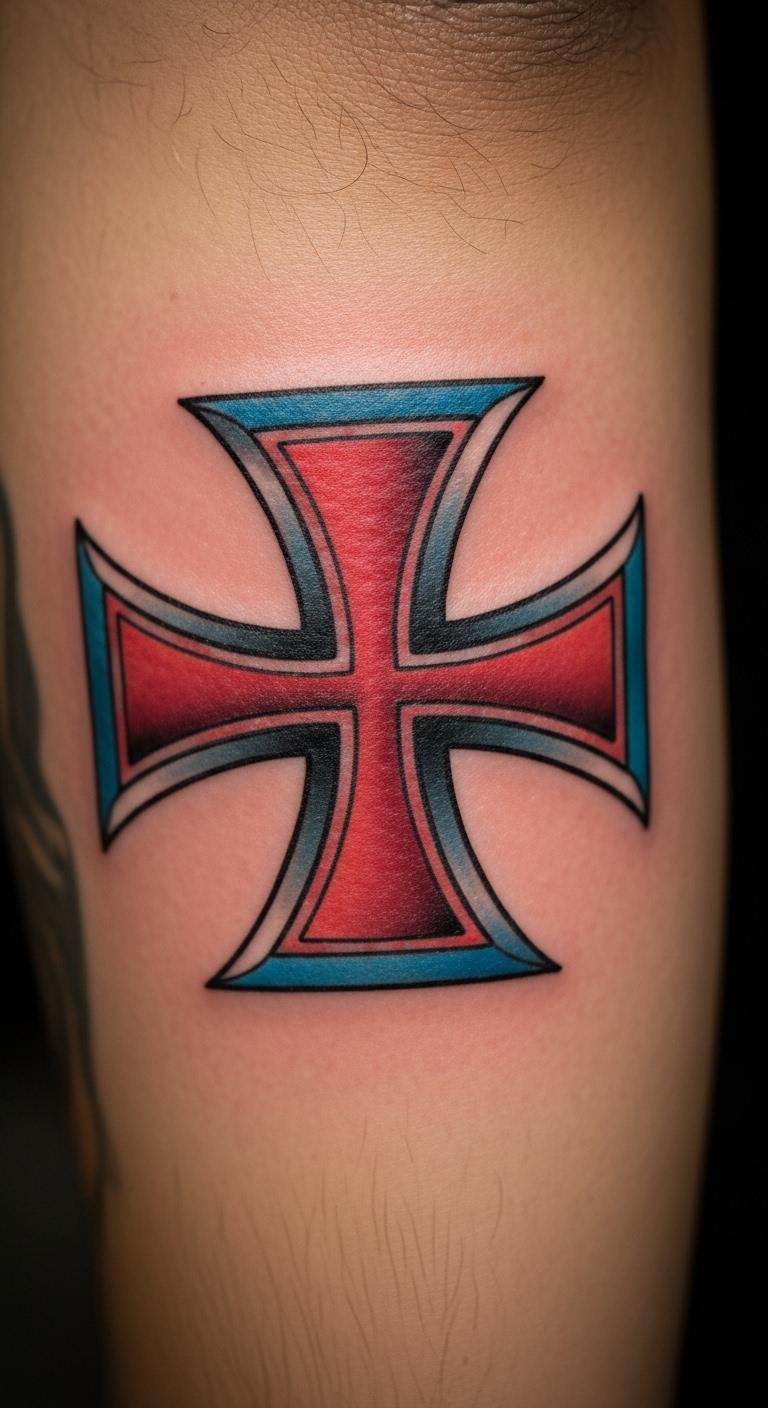
Add color to make it pop. Choose shades like red for energy. Draw your design with colored pencils on draft paper. Experiment at home. Place it on your arm for visibility. Budget tip: Mix colors yourself in sketches to reduce tattoo costs. Real DIY example: Use markers to preview the look on your body. Opt for water-based inks if going pro. This style might need touch-ups later. It brings a fresh feel to tradition. Pick hues that match your vibe. Walk away with something eye-catching.
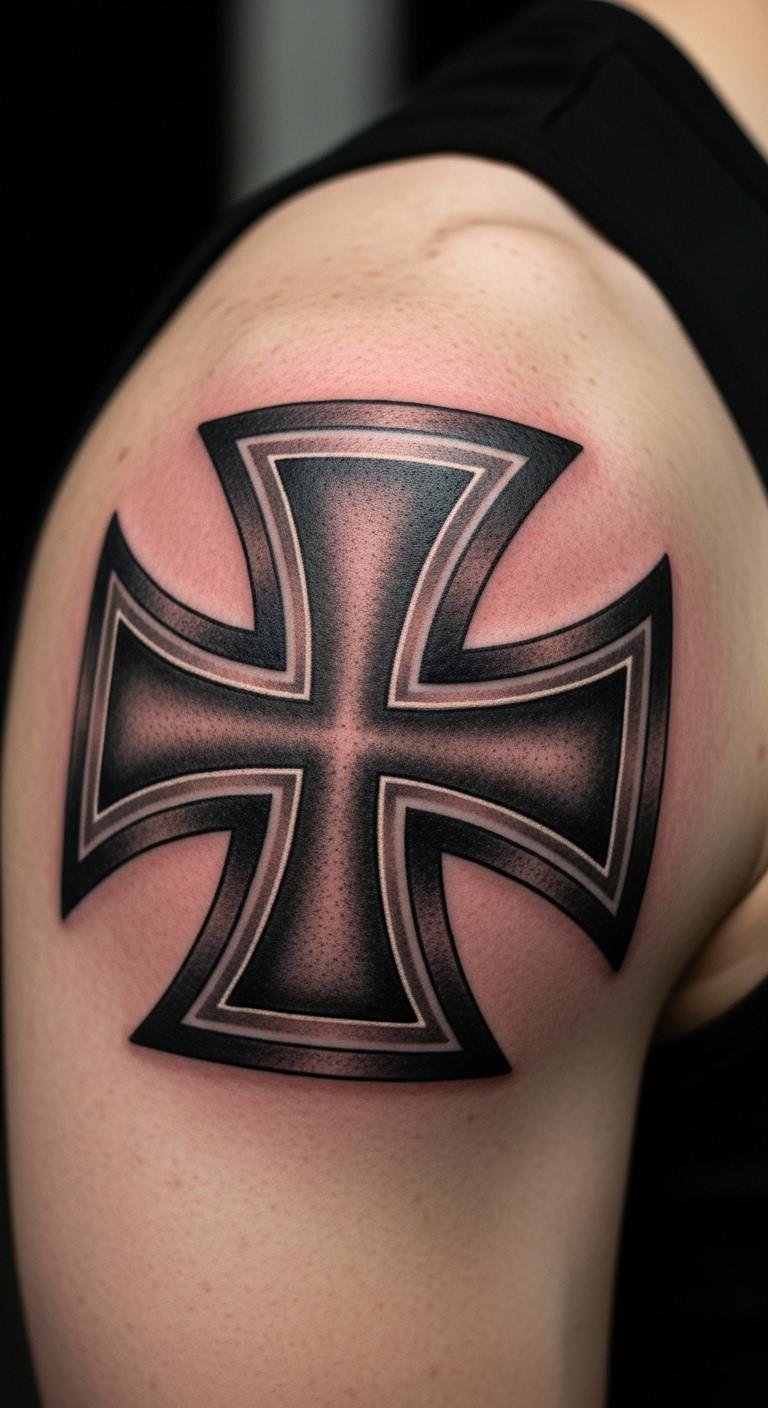
Iron Cross on the Arm
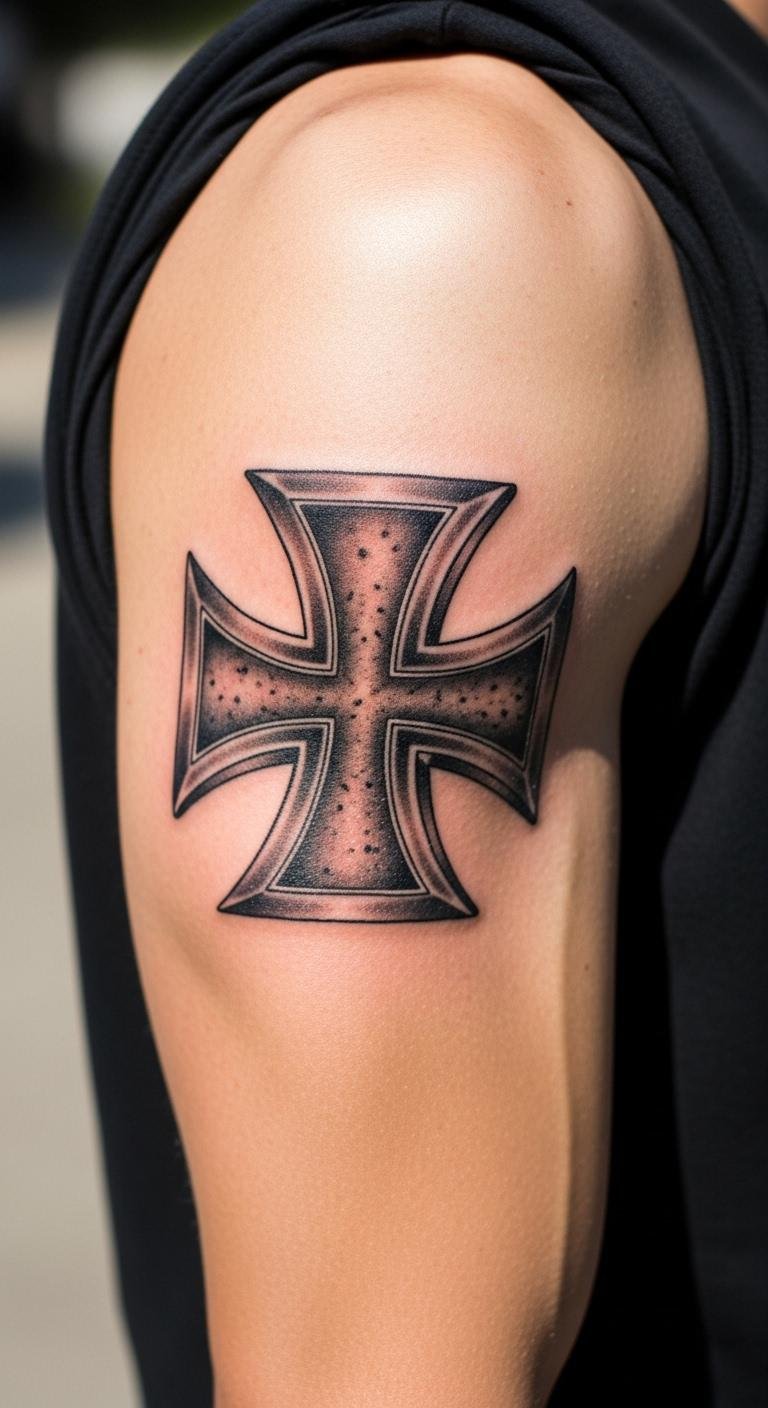
The arm offers great space for display. Position the cross midway for balance. Sketch it to scale on your arm with a mirror. Use arm templates from free sites. Budget tip: Practice drawing on yourself with temporary ink. Real DIY example: Wrap paper around your arm and trace the design. Go for blackwork here. Sessions are straightforward. This spot shows off your edge easily. Choose based on your daily wear. Get a design that fits your flow.
Iron Cross with Flames
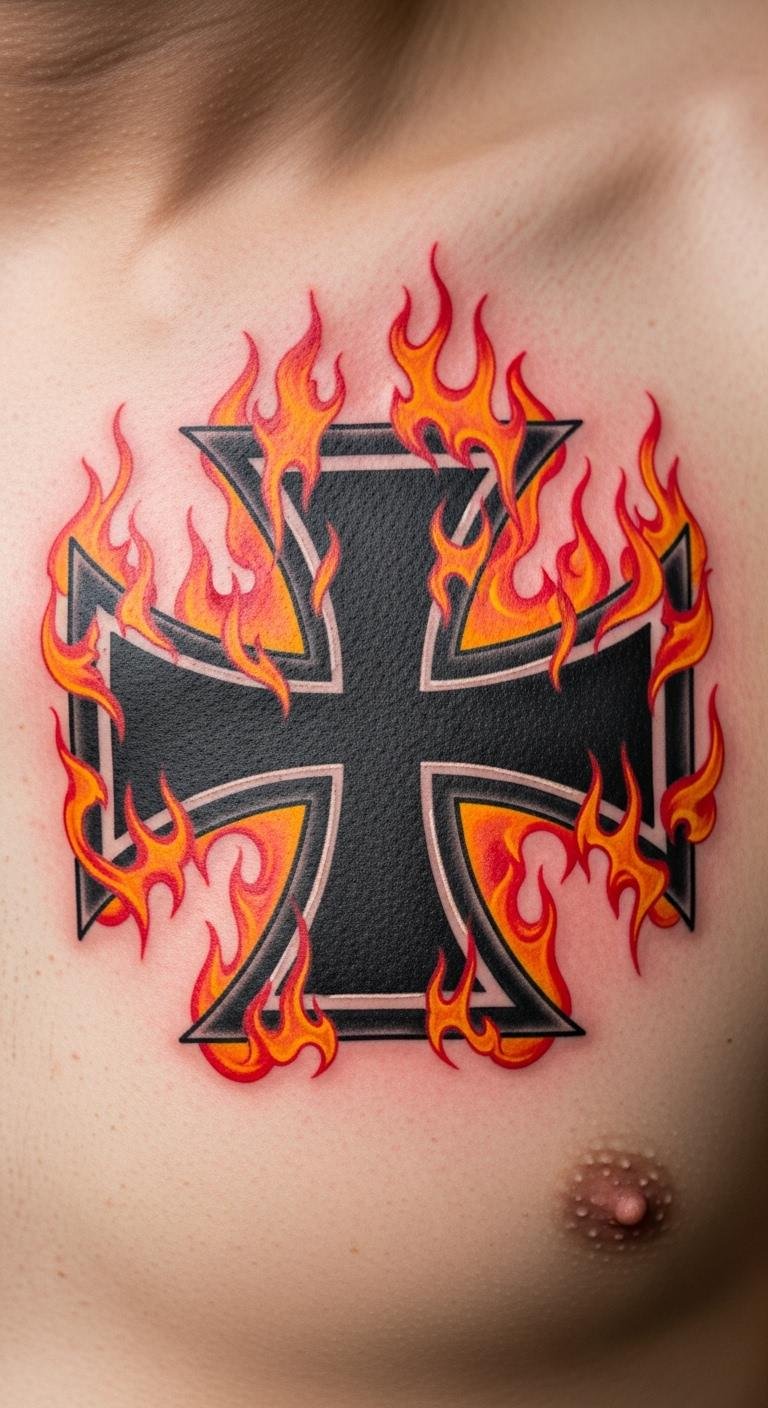
Flames around the cross add intensity. They symbolize fire and fight. Draw flames curling from the cross on rough paper. Keep them simple. Put it on your chest for impact. Budget tip: Use free flame graphics online to build your idea. Real DIY example: Sketch flames with a pen and add to the cross drawing. Opt for grey shades for depth. This might take two sittings. It’s a strong personal statement. Place it where it motivates you. End with a fiery twist.
Vintage Iron Cross Style
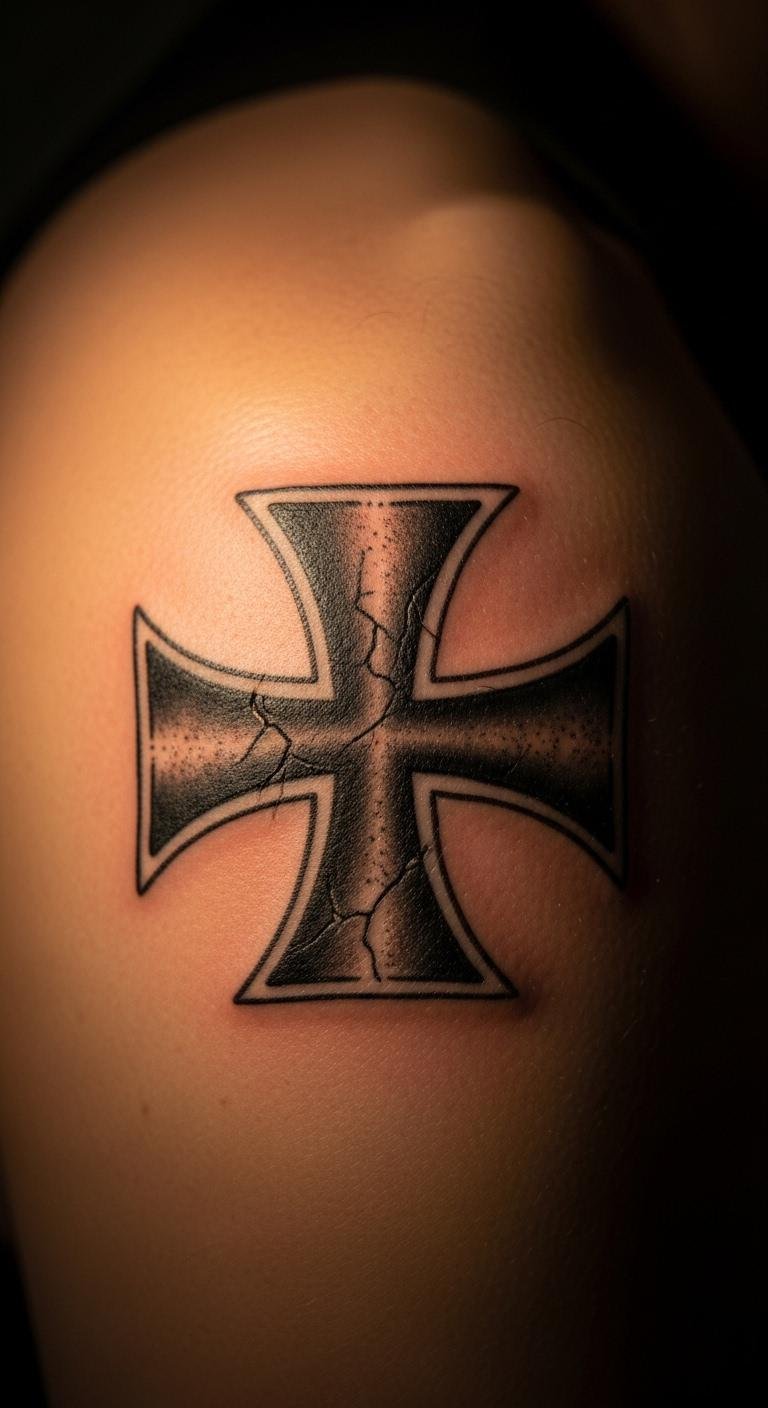
Give it an old-school feel with wear effects. Sketch with distressed lines on paper. Mimic history. Locate on your shoulder for cover options. Budget tip: Age your sketch at home with tea stains for free. Real DIY example: Draw the cross and smudge it lightly. Use basic black ink. The process feels nostalgic. This design honors the past. Choose an artist who does retro work. You’ll love the story it tells.
Neo-Traditional Iron Cross
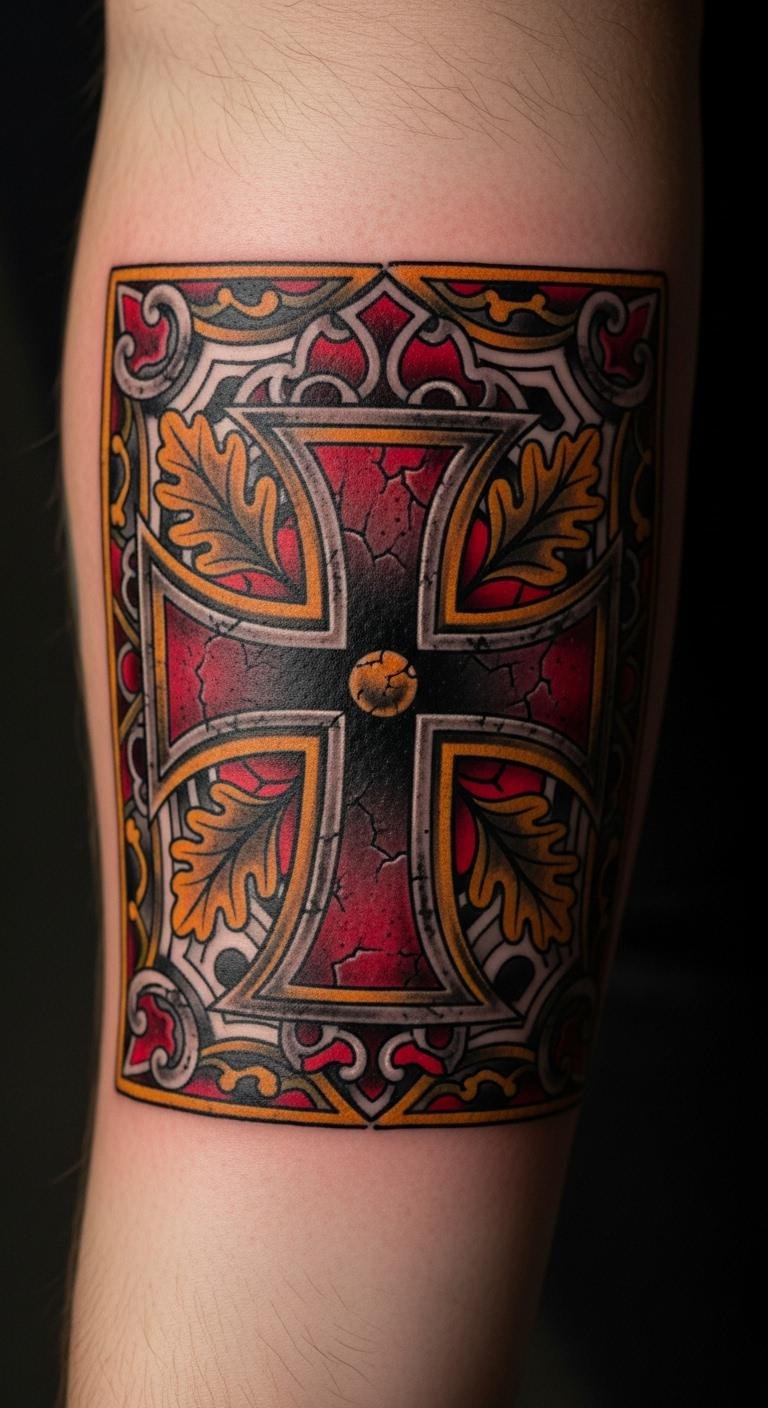
Blend modern twists with tradition. Add patterns around the edges. Plan on paper with colorful markers. Keep it fun. Place on your forearm for flair. Budget tip: Draw elements from free neo-style resources. Real DIY example: Combine the cross with simple borders using household crayons. Go for mixed colors. This could span a few hours. It’s a creative update. Pick details that speak to you. Walk away inspired.
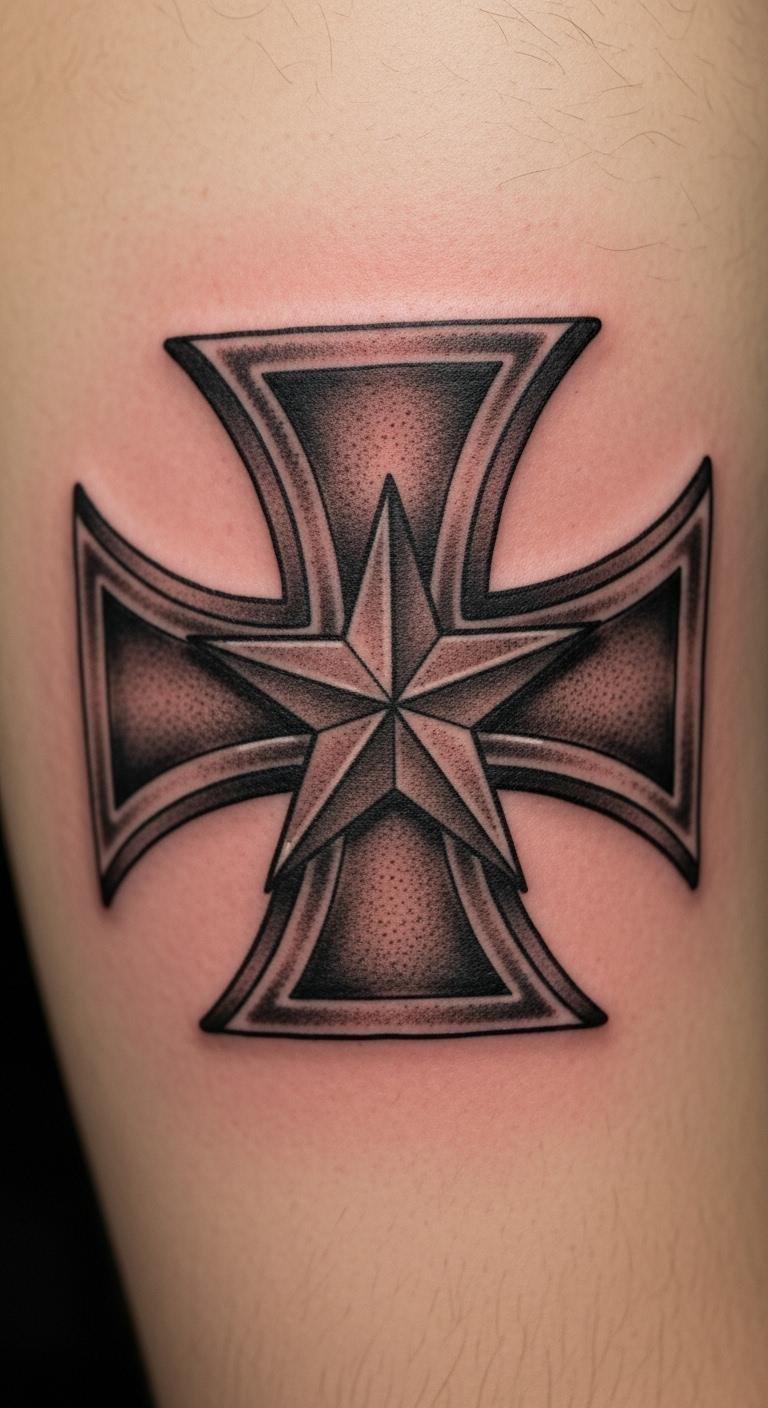
Iron Cross for Veterans
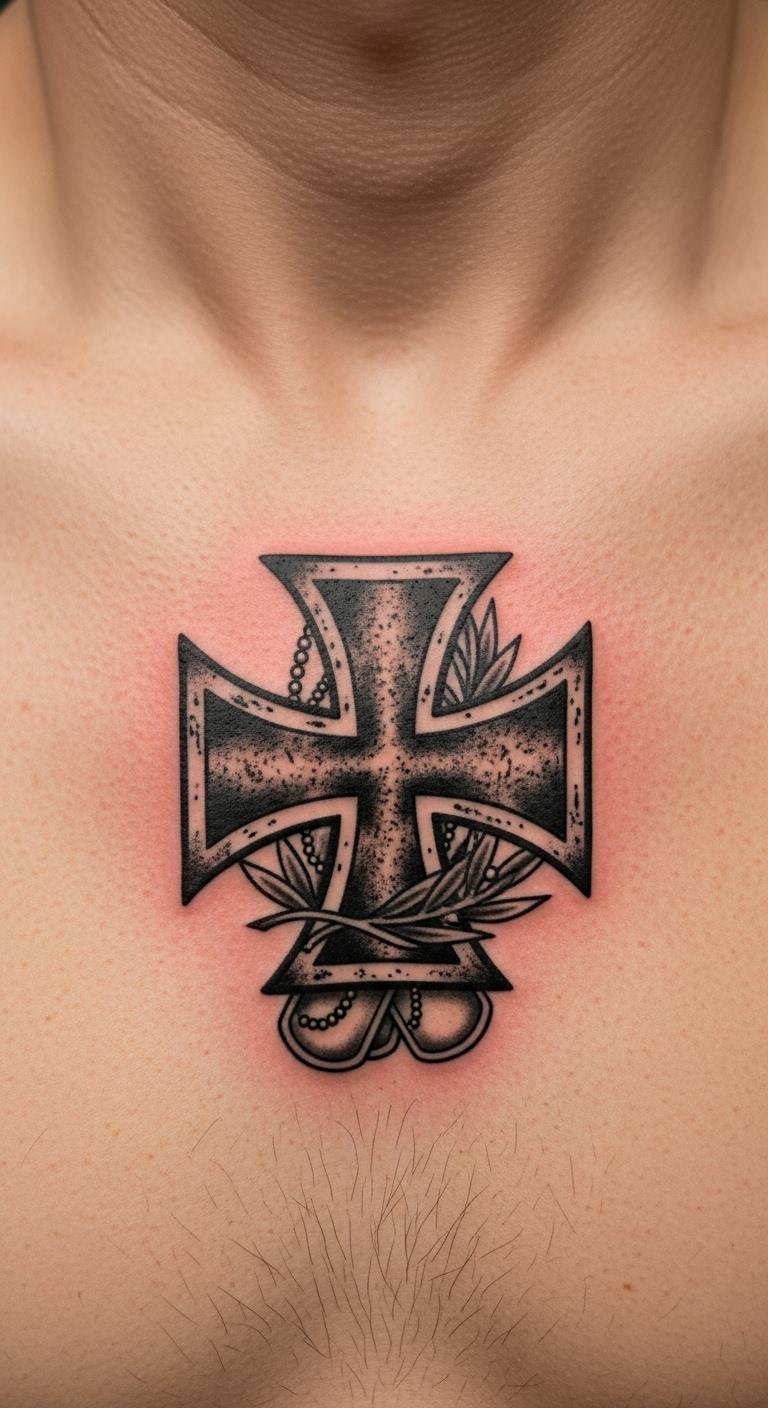
Honor service with this tribute. Add small military touches. Sketch with respect in mind. Put it on your chest. Budget tip: Use veteran symbols from public sources to save. Real DIY example: Draw the cross and add a star with a basic pen. Stick to simple ink. The tattoo is meaningful. This design supports stories. Find a supportive artist. It’s a proud choice.
Biker-Style Iron Cross
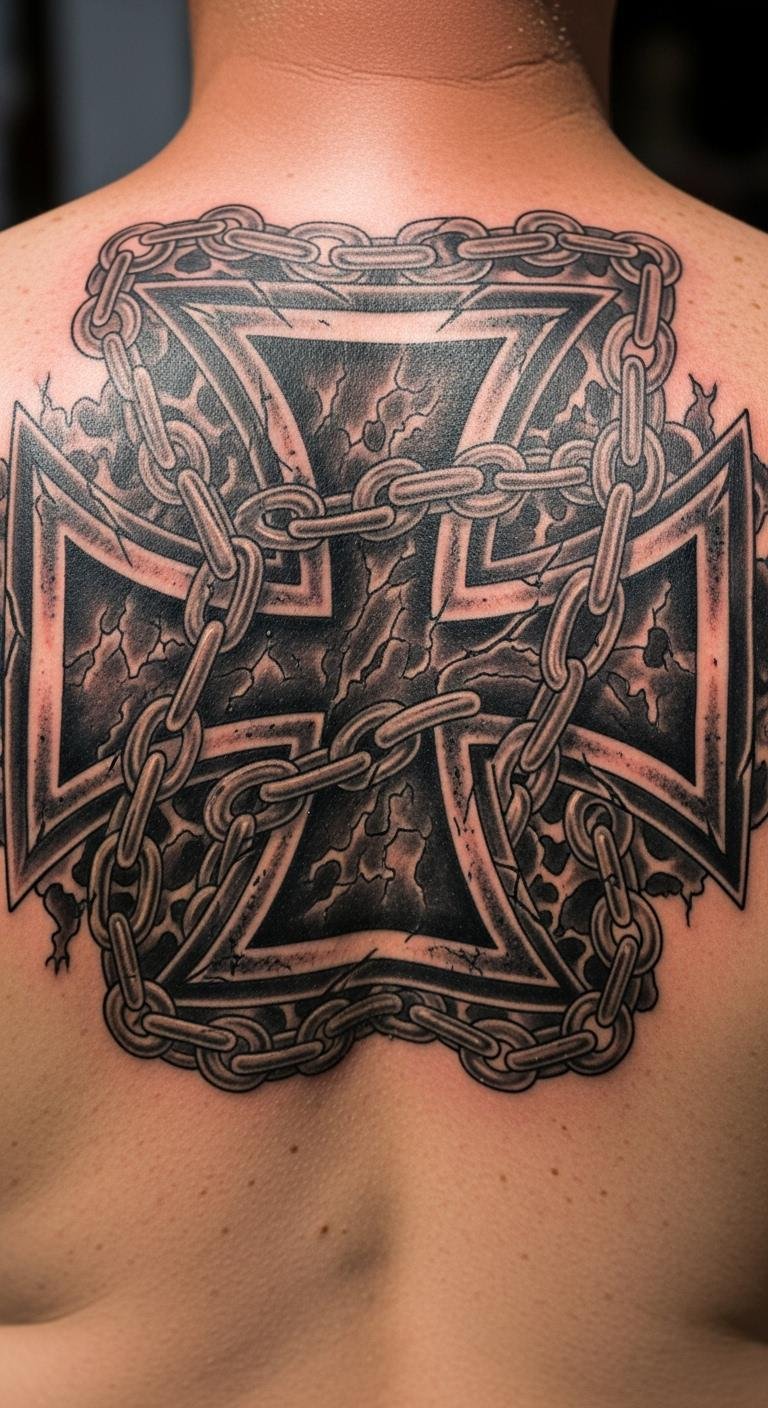
Channel rebellion with chain or wheel elements. Draw it boldly on paper. Make it rugged. Position on your back. Budget tip: Add biker icons from free images. Real DIY example: Sketch chains around the cross at home. Use solid black. This builds a tough look. Sessions are engaging. It’s for the free spirit. Choose based on your ride. Get something authentic.
Iron Cross with Skulls
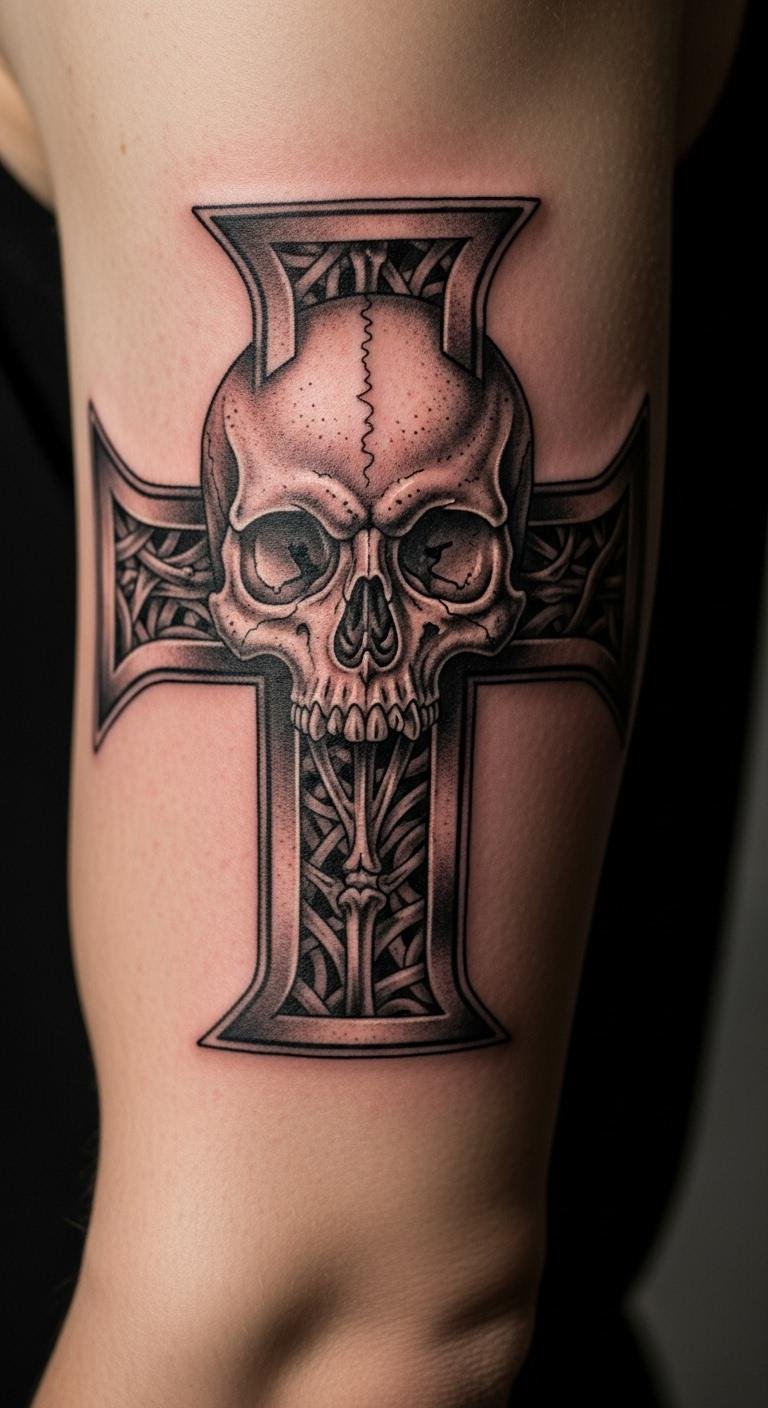
Skulls amp up the warrior vibe. Place one in the middle. Sketch quickly on paper. Keep it edgy. Put on your arm. Budget tip: Use skull templates online for free planning. Real DIY example: Draw a simple skull and attach it to the cross. Opt for detailed shading. This adds depth. The design is bold. Find an artist who matches your style. It’s a statement piece.
Small Iron Cross Tattoo
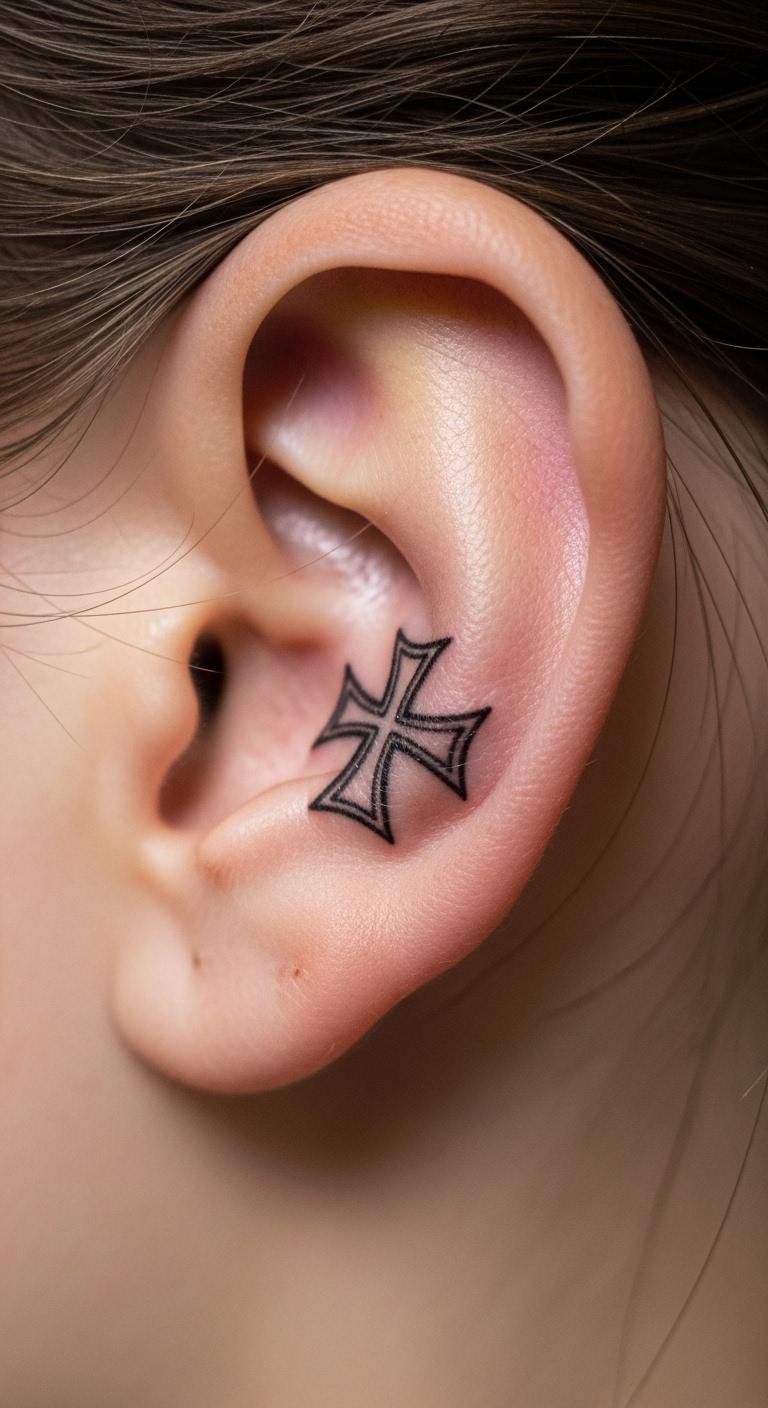
Small sizes suit discreet spots. Use thin lines for neatness. Draw tiny on paper. Place behind your ear. Budget tip: Practice with small sketches to avoid fees. Real DIY example: Use a fine marker for a trial run. Keep it basic. This is quick and easy. It’s for subtle edge. Choose a hidden area. End with a personal touch.
Iron Cross with Dates
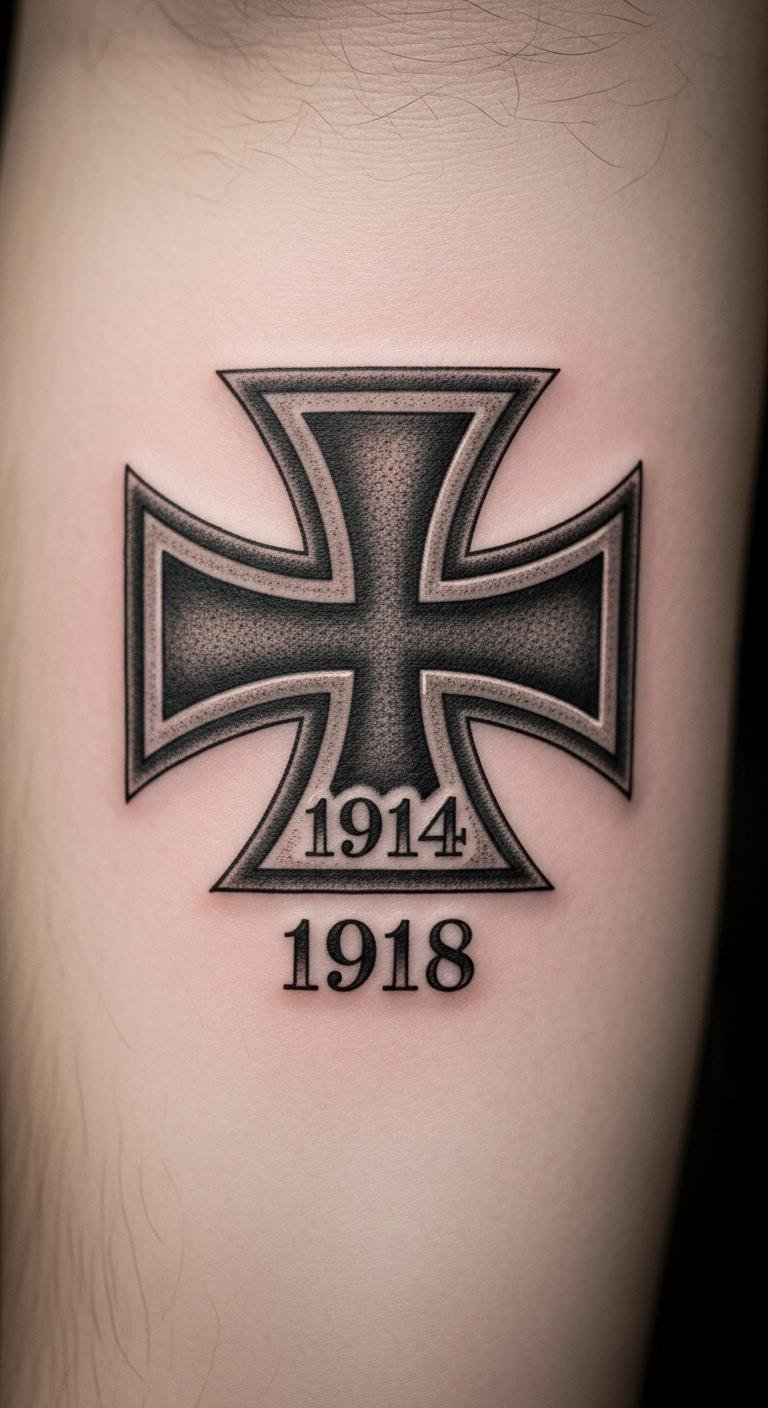
Add dates for personal history. Put them under the cross. Sketch with numbers first. Locate on your forearm. Budget tip: Write dates yourself in drafts. Real DIY example: Add years to your drawing with a pen. Use plain ink. This makes it unique. The process is personal. It’s a timeline marker. Pick meaningful figures. Get a lasting record.
Grayscale Iron Cross
Grey tones offer depth without color. Layer shades in your sketch. Put on your shoulder. Budget tip: Shade drawings at home for free. Real DIY example: Use pencils to create grey effects. Go for varied tones. This builds character. The design is versatile. Find a skilled hand. It’s a smart choice.
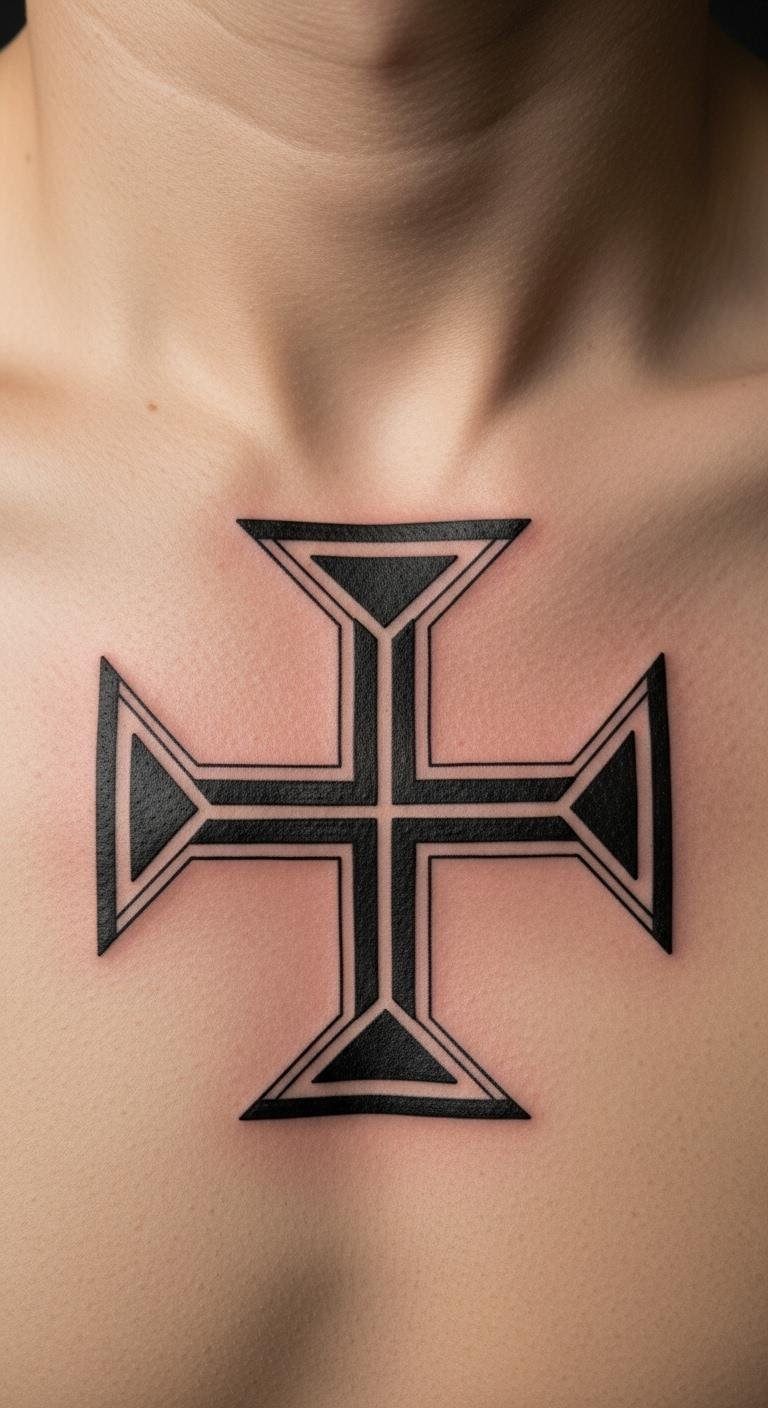
Iron Cross on the Chest
Chest placement makes it central. Draw it large on paper. Center it well. Budget tip: Measure the spot at home. Real DIY example: Trace on your chest with removable ink. Use strong lines. This is impactful. The design stands out. Choose for visibility. Get something powerful.
Fusion with Other Symbols
Mix in stars or hearts for fusion. Combine in your sketch. Place on your arm. Budget tip: Merge symbols from free sources. Real DIY example: Draw and link elements at home. Keep it simple. This creates a hybrid. The tattoo is original. Pick symbols that fit. End with a custom blend.
Iron Cross for Resilience
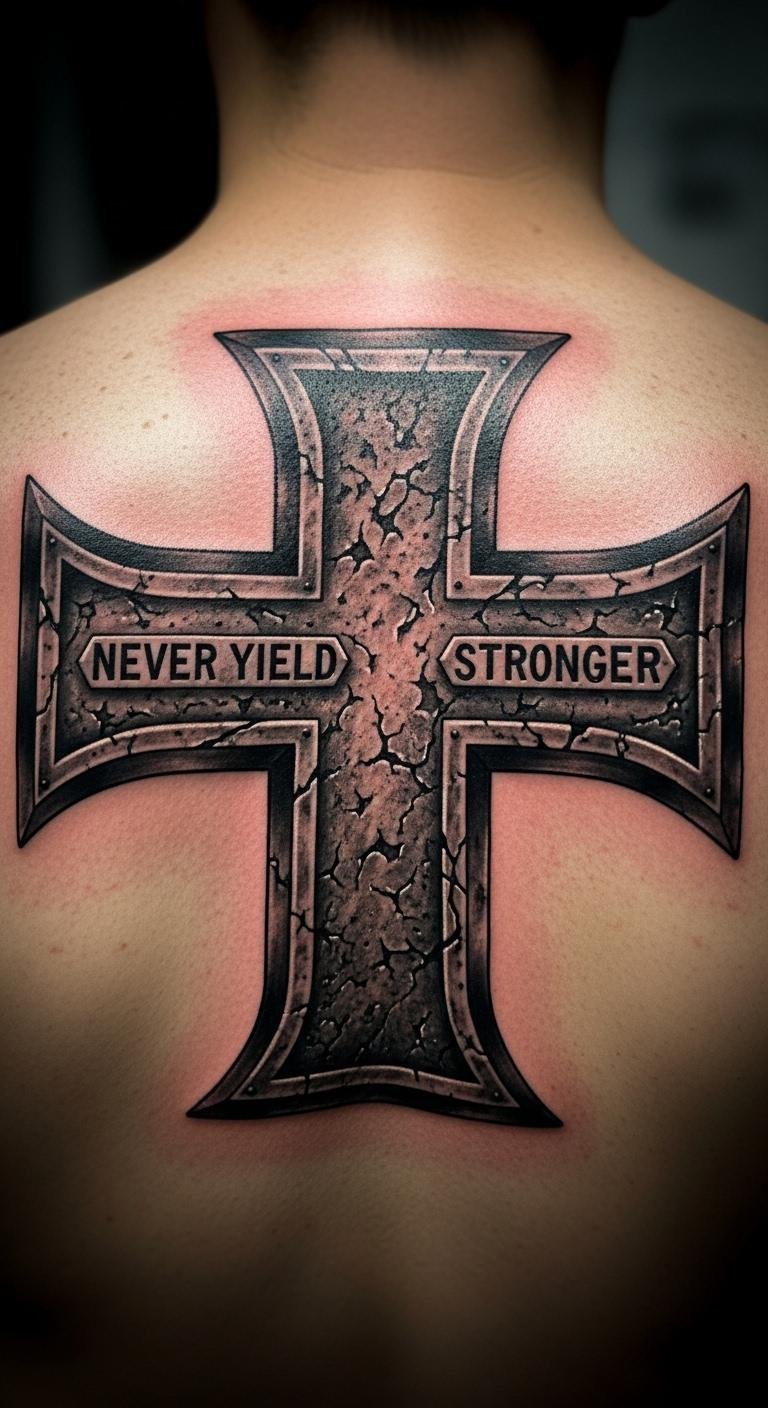
Use it to show inner strength. Add subtle lines for emphasis. Sketch with purpose. Put on your back. Budget tip: Add personal touches in freehand. Real DIY example: Draw with focus on resilience. Opt for basic ink. This is uplifting. The design inspires. Choose your story. Get motivated ink.
Ornamental Iron Cross
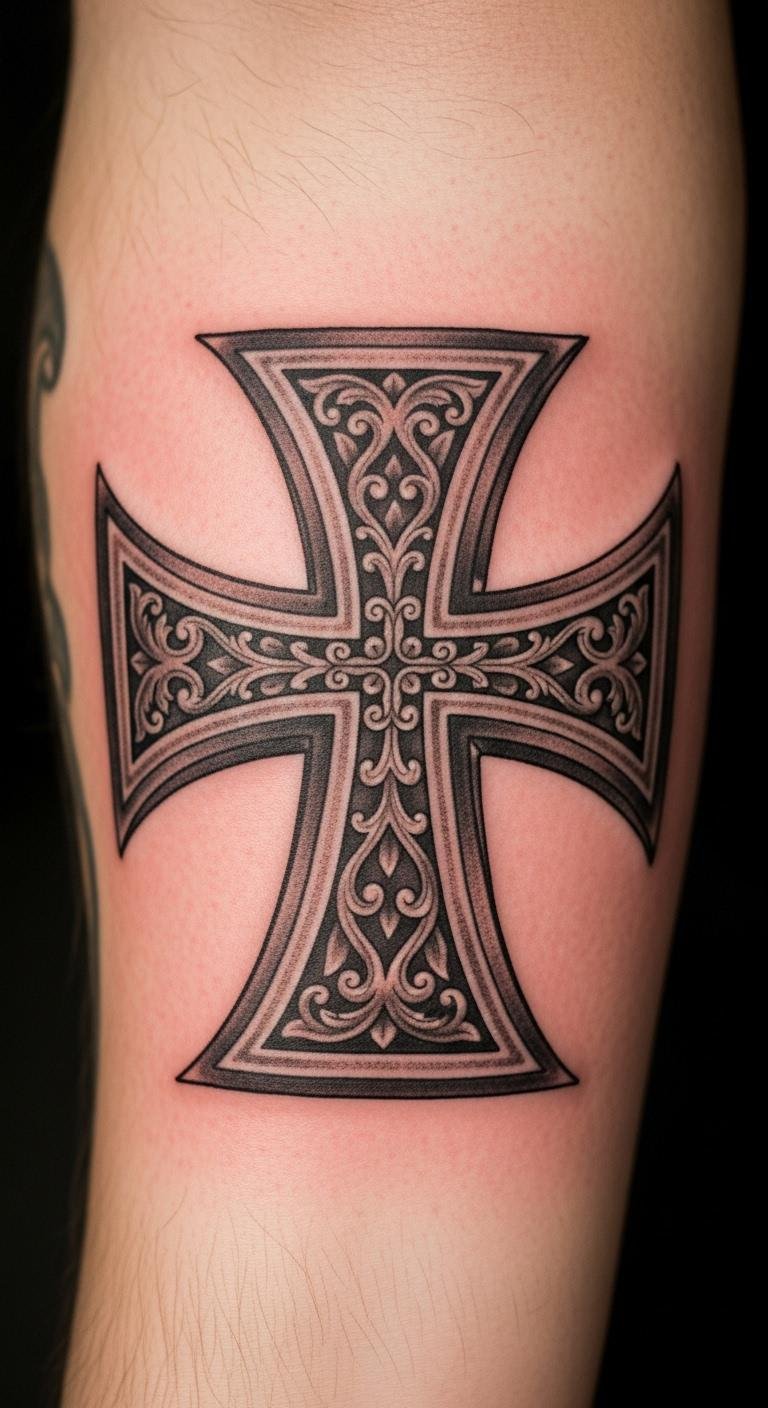
Decorate with patterns for flair. Add swirls in your drawing. Place on your forearm. Budget tip: Design patterns yourself. Real DIY example: Sketch ornaments with a pen. Use colorful options. This enhances appeal. The tattoo is artistic. Find a creative artist. It’s a beautiful addition.
Iron Cross with Swords
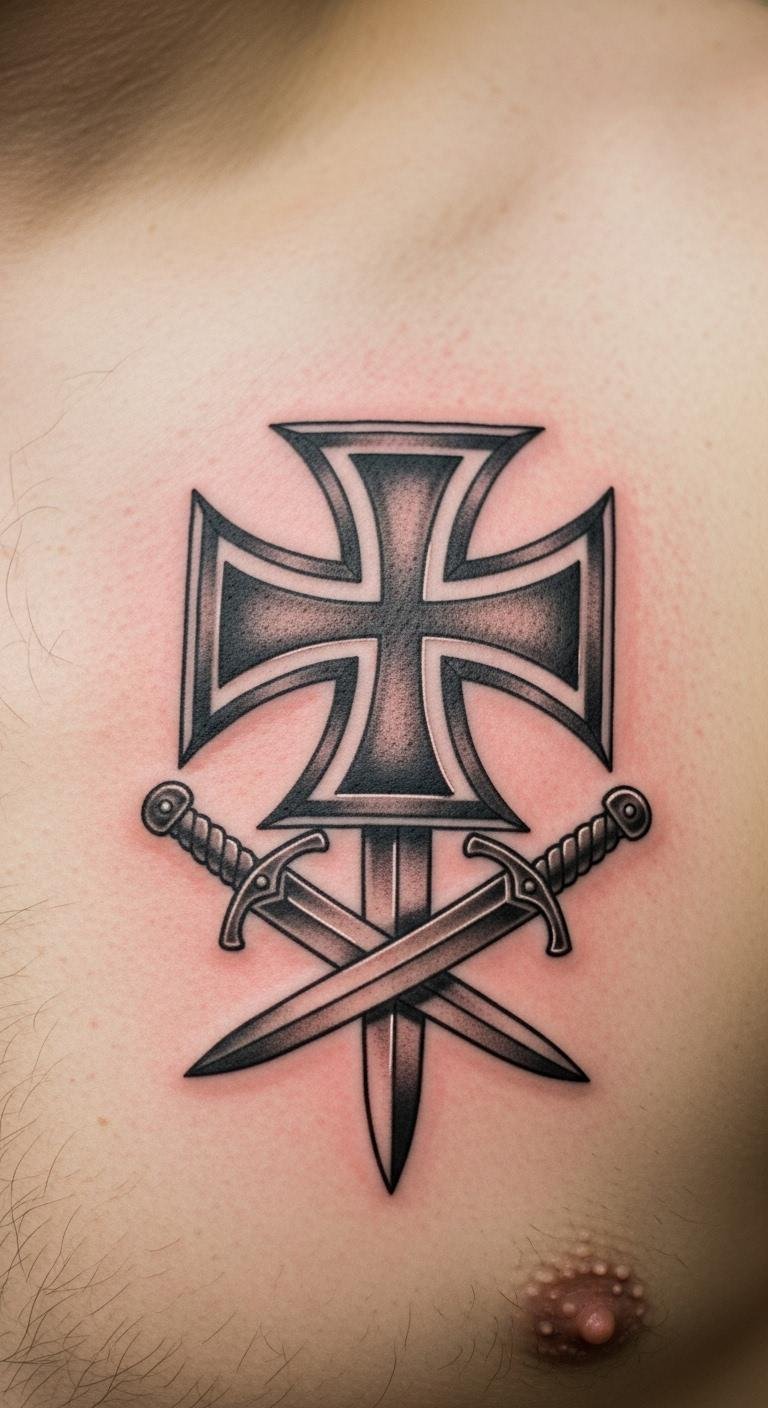
Swords add a fighter’s edge. Cross them under the design. Draw carefully on paper. Put on your chest. Budget tip: Use sword images from free sites. Real DIY example: Add swords to your sketch. Go for detailed work. This builds drama. The design is warrior-like. Choose for effect. Get a bold mark.
Personalized Family Iron Cross
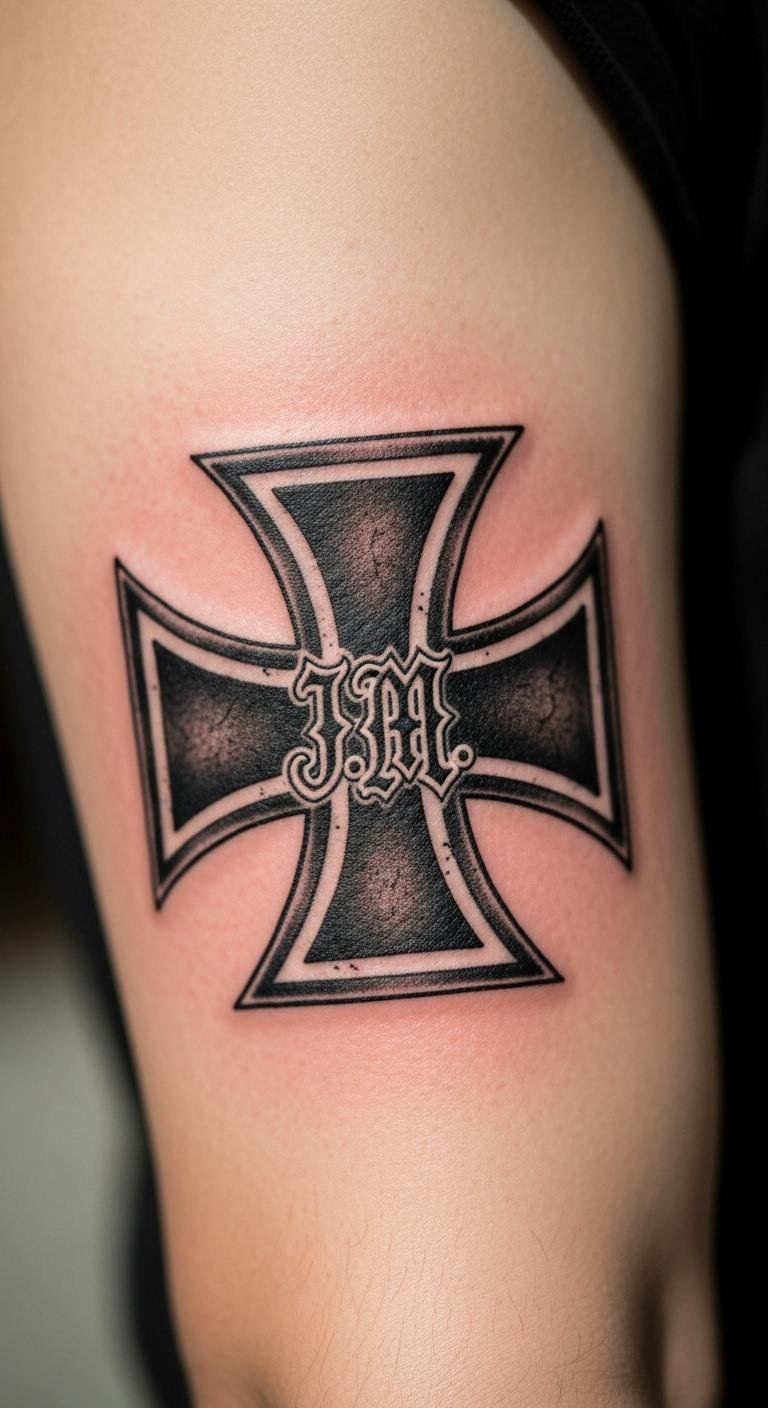
Include initials for family ties. Add them around the cross. Sketch with names. Place on your arm. Budget tip: Write initials in your plan. Real DIY example: Incorporate text in a home drawing. Use clear ink. This makes it family-focused. The tattoo is heartfelt. Pick your elements. End with memories.
Iron Cross in Heavy Metal Style
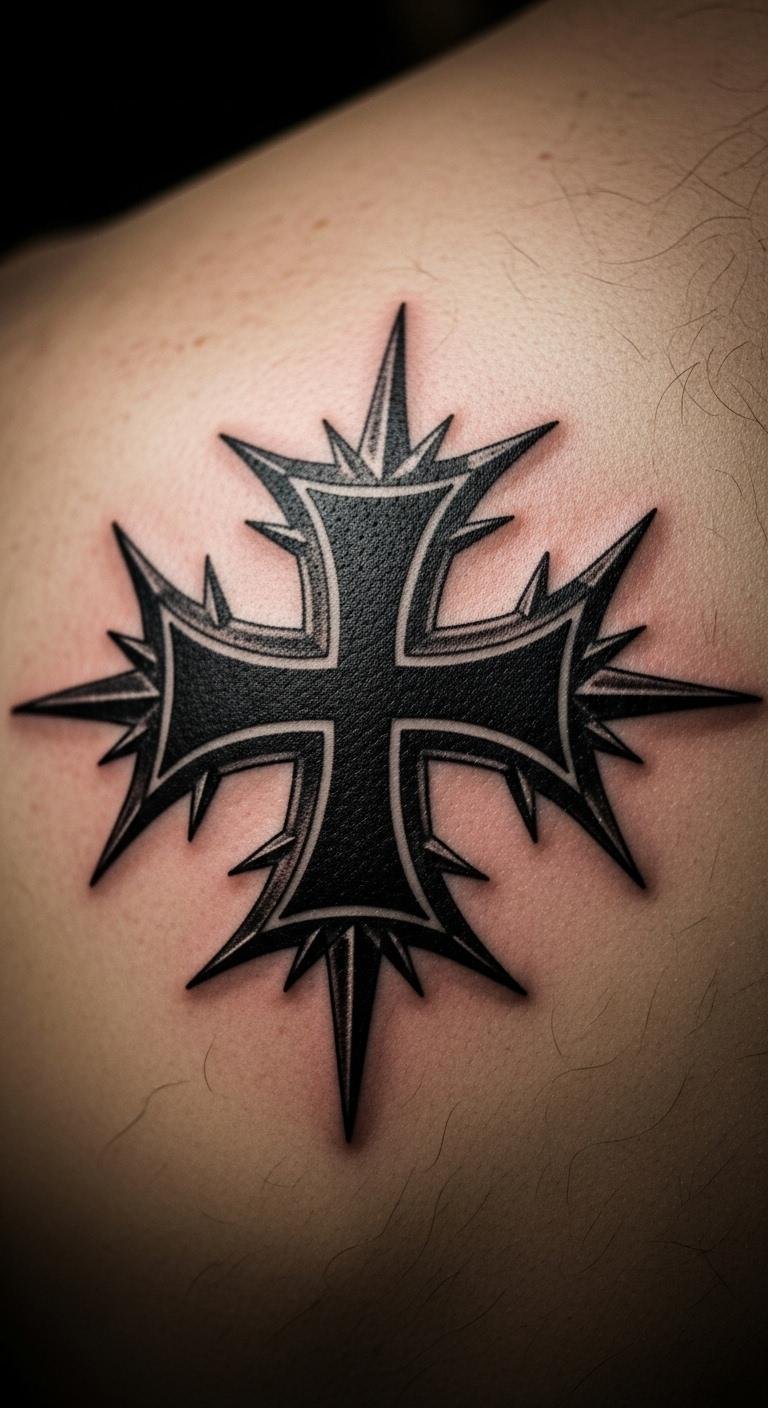
Spike it for metal vibes. Add points in your sketch. Put on your back. Budget tip: Draw spikes from free metal art. Real DIY example: Sketch with edgy features. Opt for black ink. This rocks hard. The design is intense. Find a metal-inspired artist. It’s for fans.
Abstract Iron Cross Variation
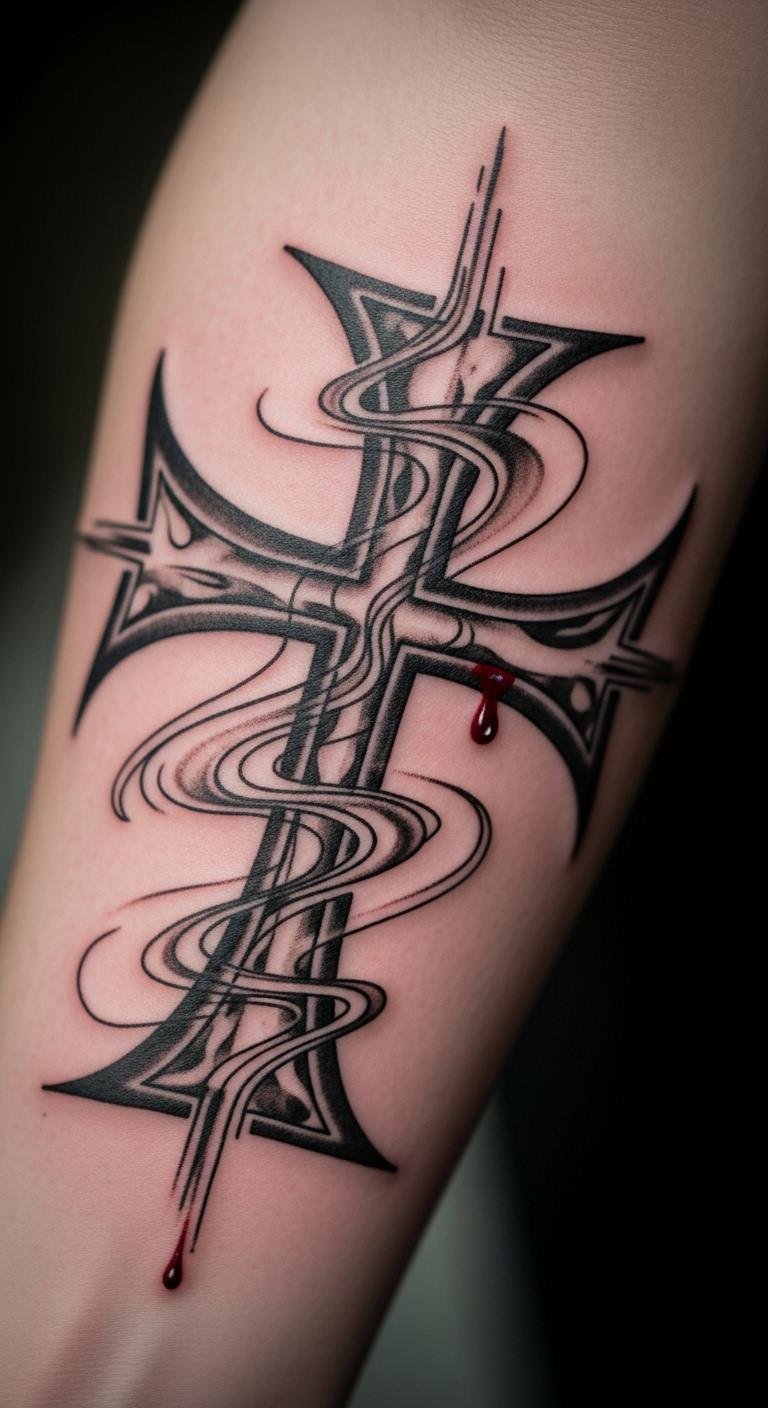
Twist it abstractly for uniqueness. Alter shapes in your drawing. Place on your forearm. Budget tip: Experiment with abstracts at home. Real DIY example: Draw loose forms. Use creative shades. This is modern. The tattoo stands apart. Choose your abstraction. Get something new.
Iron Cross with Flowers
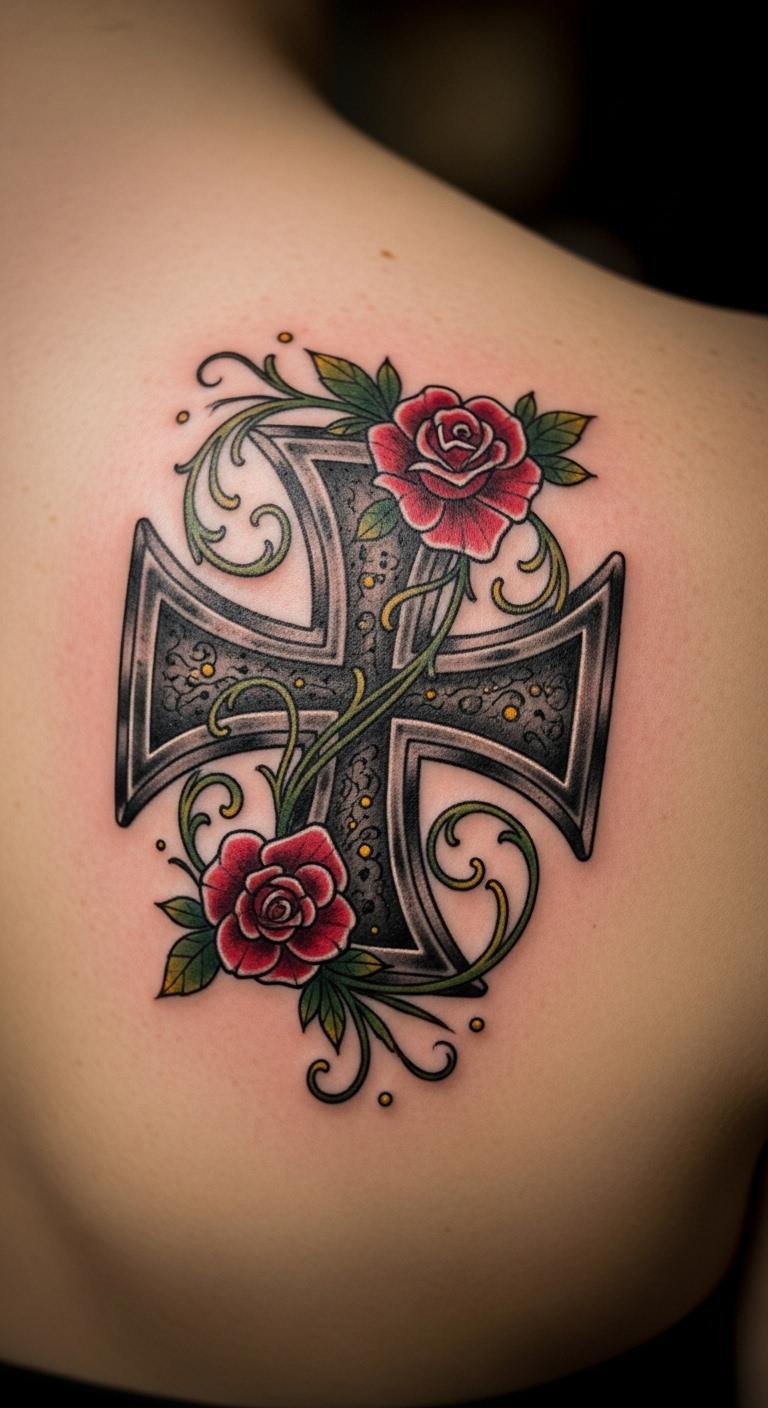
Flowers soften the edge. Add blooms around it. Sketch gently. Put on your shoulder. Budget tip: Use flower drawings from free sources. Real DIY example: Combine flowers in your design. Go for light colors. This balances tough and soft. The tattoo is versatile. Pick your flowers. End with beauty.
Large Back Iron Cross
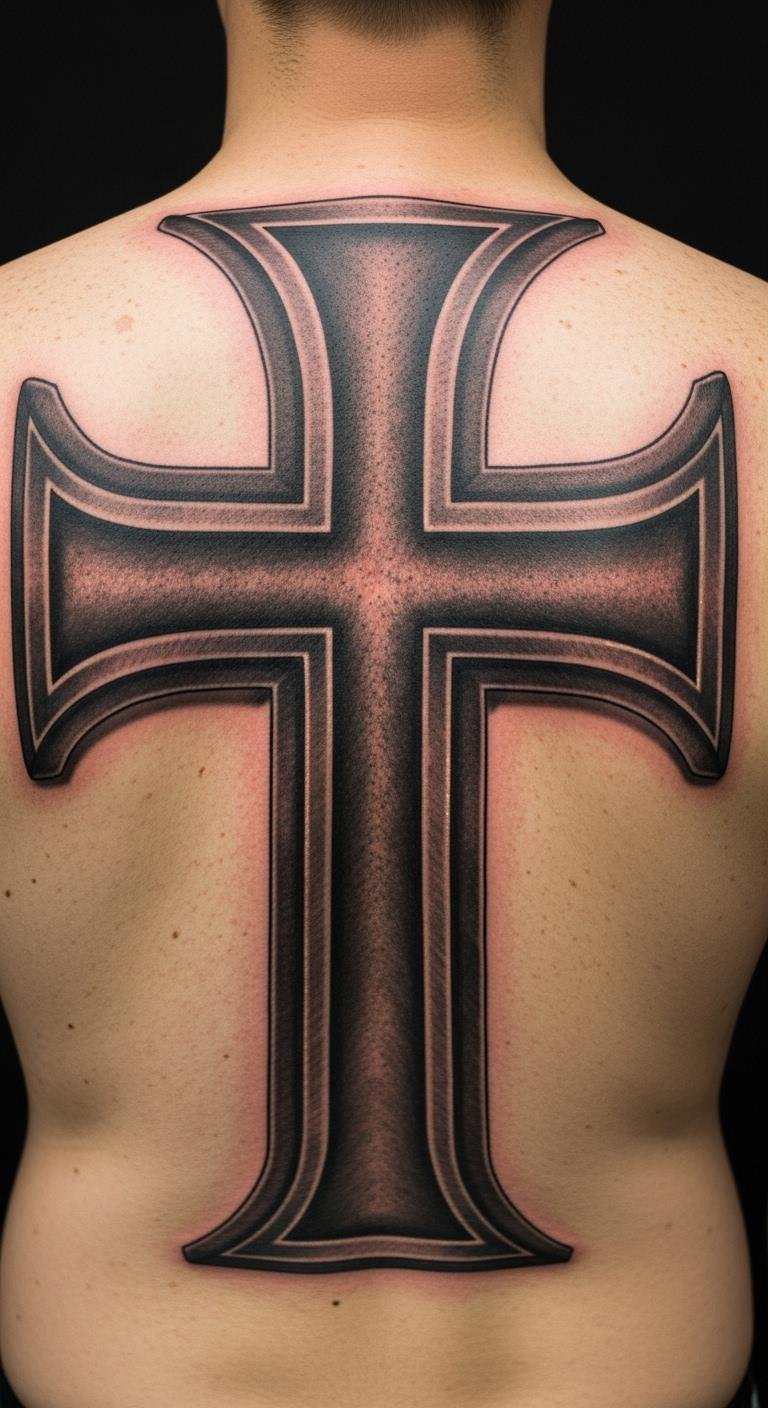
Go big for a full statement. Fill the back space. Draw to scale. Budget tip: Plan large sketches affordably. Real DIY example: Outline on paper first. Use detailed ink. This covers ground. The design is grand. Choose for impact. Get a major piece.
Iron Cross with Ribbons
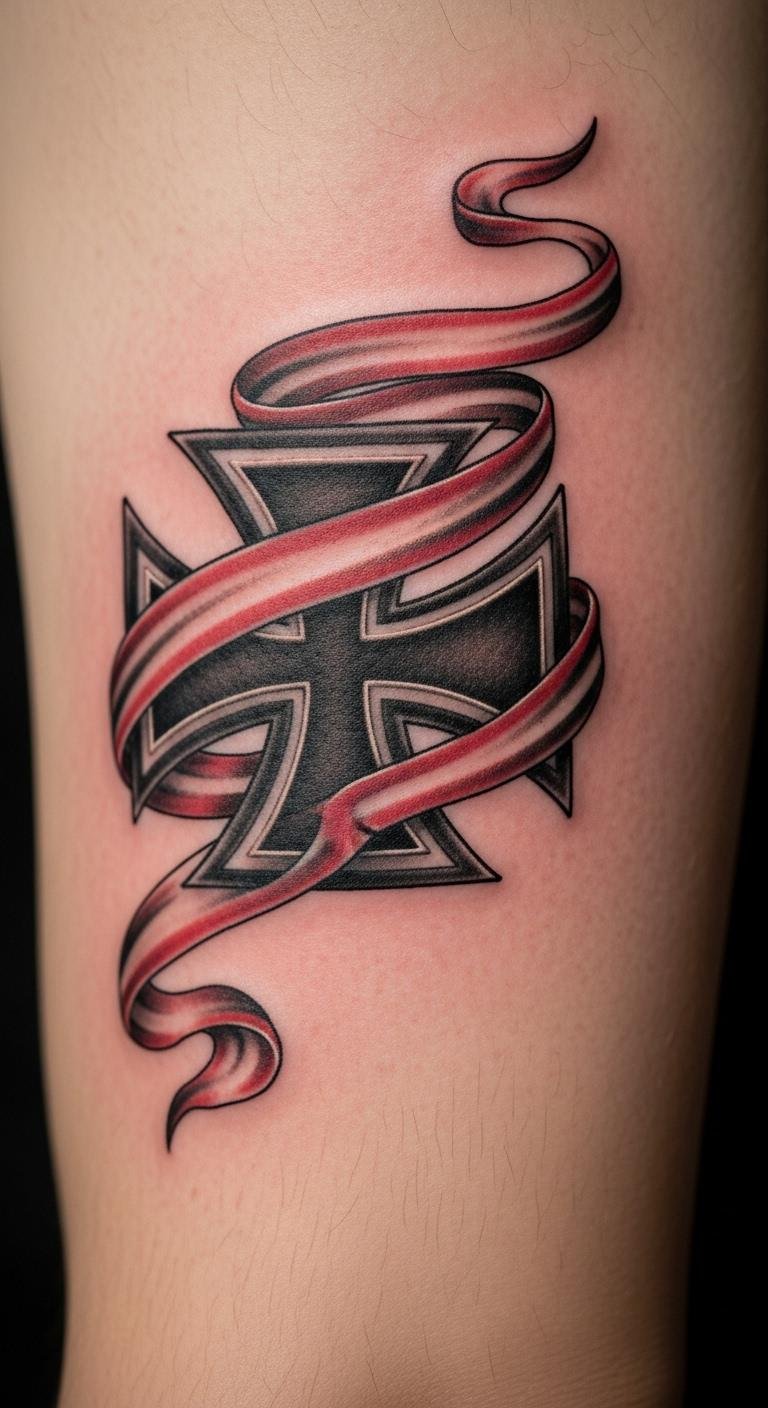
Ribbons add flow and meaning. Drape them over the cross. Sketch with curves. Place on your arm. Budget tip: Draw ribbons yourself. Real DIY example: Add them to your plan. Opt for smooth lines. This enhances the look. The tattoo is elegant. Pick your style. End with grace.
Simple Line Iron Cross
Lines only keep it minimal. Use outlines alone. Draw precisely. Put on your wrist. Budget tip: Practice lines at home. Real DIY example: Sketch with a straight tool. Go basic. This is straightforward. The design is pure. Choose for simplicity. Get quick ink.
Modern Geometric Iron Cross
Make it geometric for a modern twist. Add angles and shapes. Sketch modernly. Place on your chest. Budget tip: Use geometric tools for free. Real DIY example: Draw with rulers. Use patterned ink. This is contemporary. The tattoo is fresh. Find a modern artist. It’s a smart update.
These Iron Cross tattoo ideas give you ways to show your style without breaking the bank. Try one that fits your story, and step into a bolder you with ink that’s all yours.